As Enscape fans, we were surprised and delighted by the launch of Enscape 3.0 at the beginning of March 2021. A version number going up an entire digit means big changes, and it shows on the new branding. We are excited to see what is new as we dive into the program.
Enhanced user interface
Before 3.0, settings were scattered within the real-time rendering window, with some hidden in the Revit toolbar. The current version hosts many functions within the real-time rendering window. This is a blessing for single-monitor users who no longer need to flip back and forth between Enscape and Revit.
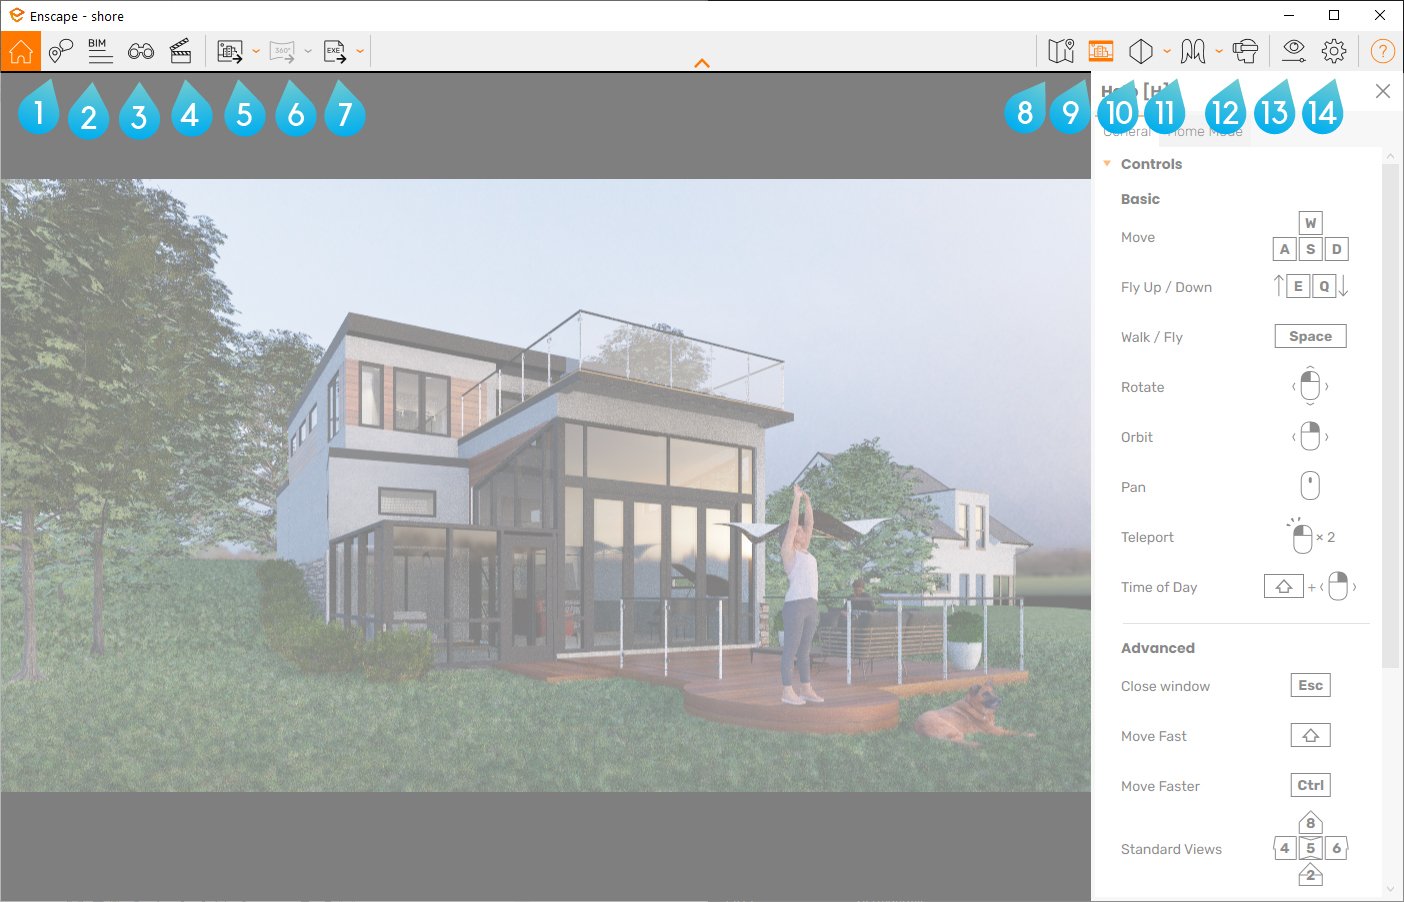 The new user interface
Real-time rendering functionality
- Collaborative Annotation [C]: Users can insert notes while navigating in Enscape. These notes are associated with BIM elements and are visible to any collaborator. This feature is especially useful where design decisions rely on realistic representation of material and space.
- BIM Mode [B]: Consider this the X-ray view. BIM element identities are preserved so that designers retain the familiarity of the building model from Revit to Enscape.
- View Management [F]: Quick access to all 3D views of a project. Revit 3D view may not be the best when capturing the best side of a project. This feature allows users to get the perfect camera angle while navigating Enscape and lock it down.
- Video Editor [V]: Barebone editor, where users just need to position the camera at keyframes.
- Screenshot [Shift + F11]: This is the Render button in static rendering programs. This exports images as separate channels to the specified settings.
- Mono Panorama: Exports a simple static Street View of a project.
- Exe Standalone: Exports an interactive environment as a program that can be run on any computer. Even better, users can export a web version where a project is hosted online and is accessible in browsers.
- Minimap [M]: Shows the user’s location relative to a project.
- Safe Frame: What you see is what you get, as this frame represents the correct aspect ratio of the final image.
- Projection Mode: Change the 3D view to one of the three types: Perspective, Two-Point Perspective, and Orthographic.
- Navigation Mode [Space]: Switch between walking and flying.
- VR Headset: Turns on VR mode.
- Visual Settings: This panel makes any scene better. Users can adjust camera settings, atmosphere, natural lighting, artificial lighting, and simple post-processing here.
- Renderer Window Settings: Meta customization.
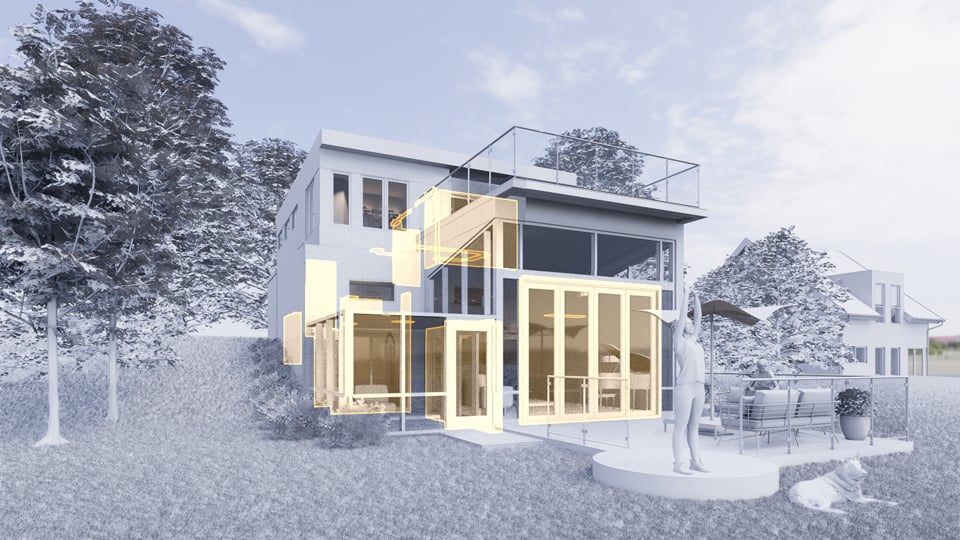 BIM mode
One note
When using Enscape for Revit, the flexibility in material properties is still limited by Revit’s innate material editor. To professional 3D computer graphics designers, Revit’s editor is unconventional and confusing. A proper material editor interprets standard conventions such as diffuse, bump, and specular maps along with optic properties such as reflectivity and Index of Reflection (IOR). Although Enscape’s material editor is available for Sketchup, it is not the case for Revit. If Enscape’s material editor can become available as an option to override Revit’s material, the resulting renderings can be further enhanced.
Favorite feature
Manual focal length.
Once I saw that silver line sweeping across the lawn, it immediately became my favorite feature. Having to estimate the distance of focal length in a virtual environment is no fun. A line representing the distance between the camera and object in focus is a huge aid. But Enscape took it a step further by highlighting every element the focal line touches.
Manual focal length in action
What makes Enscape unique
“But you’ve said architects don’t need real-time rendering.”
This is true when real-time rendering software lies about convenience. Enscape is one of the few programs (if not the only one) that does not require manual export and import. The convenience of just clicking the Start button and jumping right into the virtual environment is what entices architects to use this technology as both a design and visualization tool.
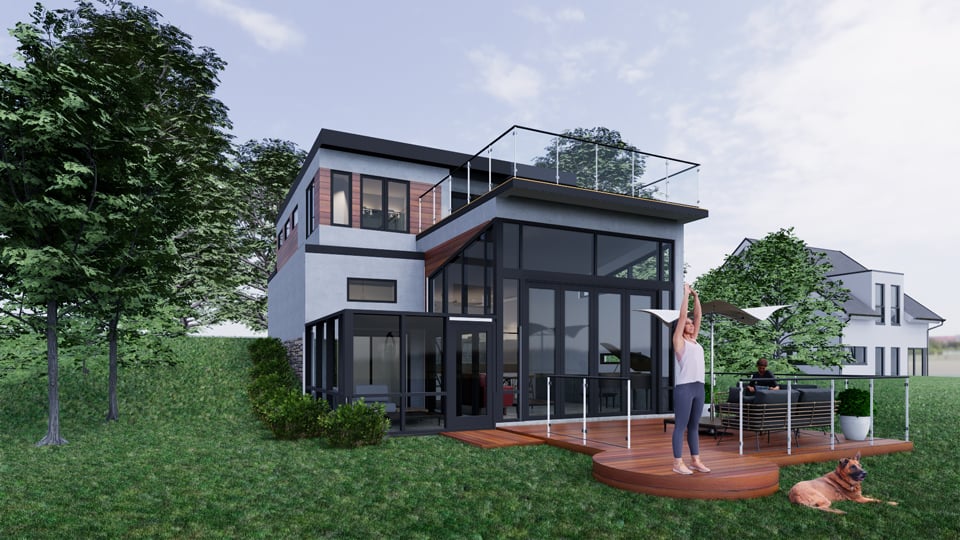 Day
Day
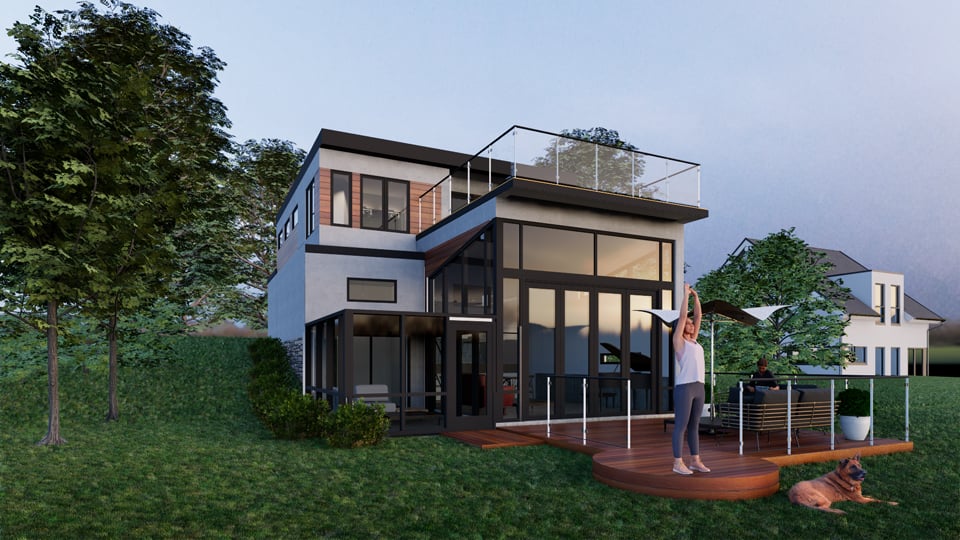 Dawn
Dawn
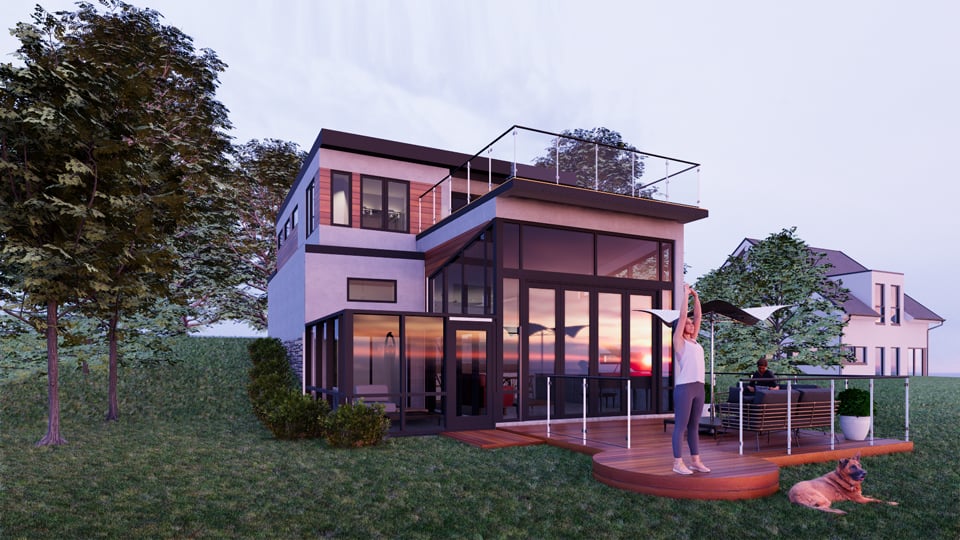 Dusk
Dusk


