In 2020, we kicked off our Philly 3D virtual environment series, which showcases iconic places around the city in a fun way. These animations creatively bring together the virtual and built environment. Here's how the series was made.
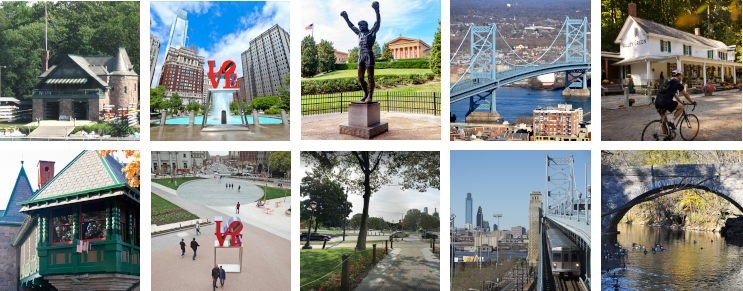
Before getting to work, a group of us review a list of Philly attractions, which includes both our favorite places and suggestions from our social media followers. When kicking off the series, we decided to start with the most recognizable places first: #13 Boathouse Row, Love Park, the Rocky Statue, the Ben Franklin Bridge, and Valley Green Inn.
1. Collecting reference: drawing inspiration from the real thing
Despite the cartoony look of these works, everything I model and include in the scenes require reference. Like everything in the visualization world, the artwork needs to be grounded in some sort of reality to capture detail. Before I even open the 3D program, I start with browsing the internet for reference photos of the landmark. Often I have had the Google Street View up on a second monitor for reference of the area as well.
2. Lighting and composition: framing the "stage"
This part of the process is sort of like a puzzle in terms of piecing together the composition. The "stylized" nature of these allows me to be limitless with shapes and proportions, but I need to adhere to some rules of aesthetic and style.
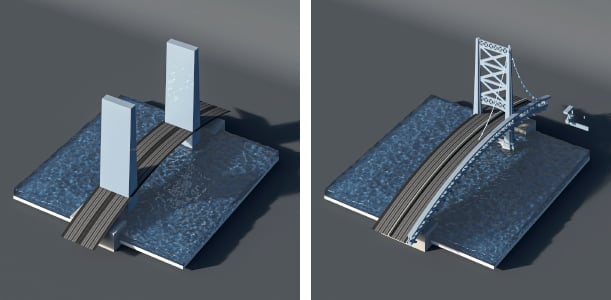
One of the decisions I made initially in the series was to create a sort of platform for each scene to take place on. Not only does this push the "stylized" nature of the renderings, but it also helps frame each scene in a unique sort of way.
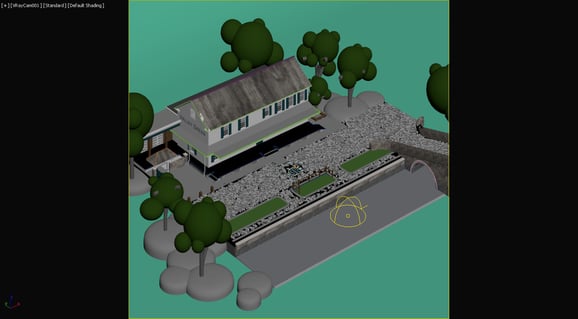
A few key questions I ask myself in this stage:
What am I going to include? What are the key recognizable features in this Philadelphia landmark? What parts should stay detailed and what parts can be simplified? Where should the landmark and focal point be in the image? How do I draw attention to that focal point?
With each iteration of the series, I've been finding it's interesting to change the shape of the landscape and model outside the "slice" of land I initially frame. We'll see how this changes for future scenes!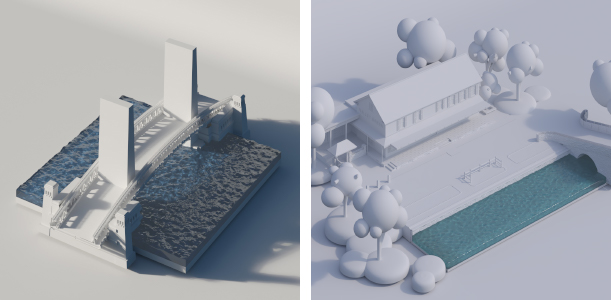
3. Staging: Making a kit of parts
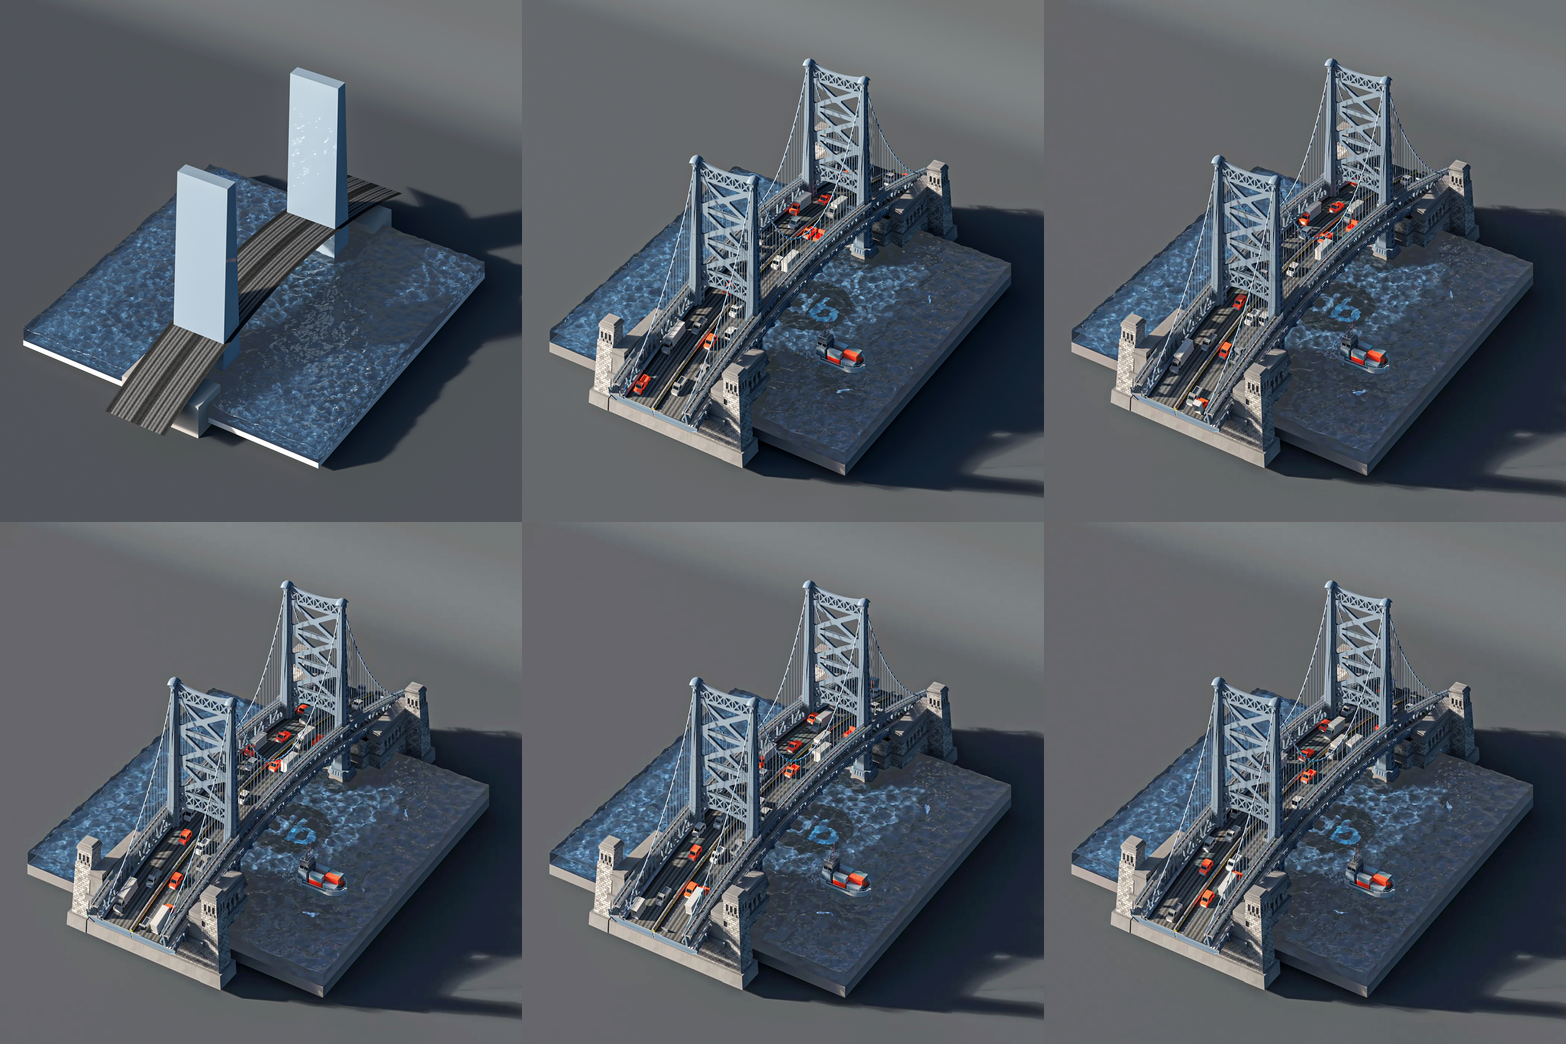
Once the general composition and lighting are established, I get to work on adding the detail. I start by building a kit of parts for the scene (some stolen from previous scenes) and then build from there. Once a piece is detailed out, it's easy to replicate it with various 3D tools. For example, there are only two unique grass 3D models in each of these scenes, but they are randomly scattered on the ground to create the lawn's look.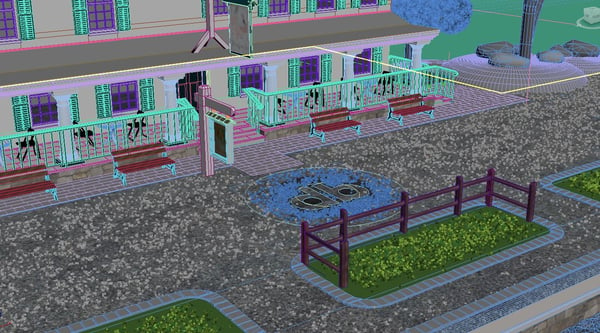
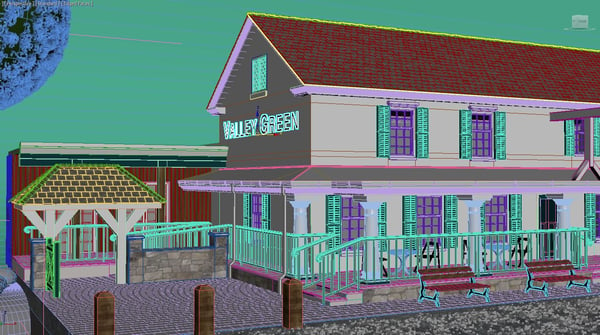
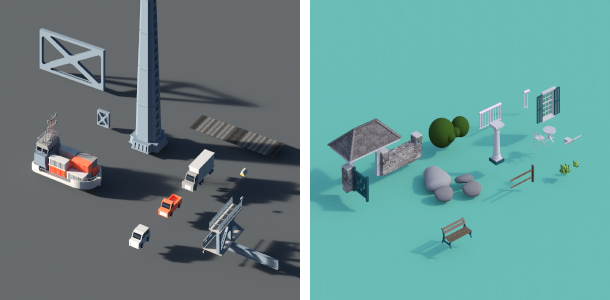
Here are pieces of the kits for Valley Green Inn and the Ben Franklin Bridge:
4. Animation: The last layer of detail
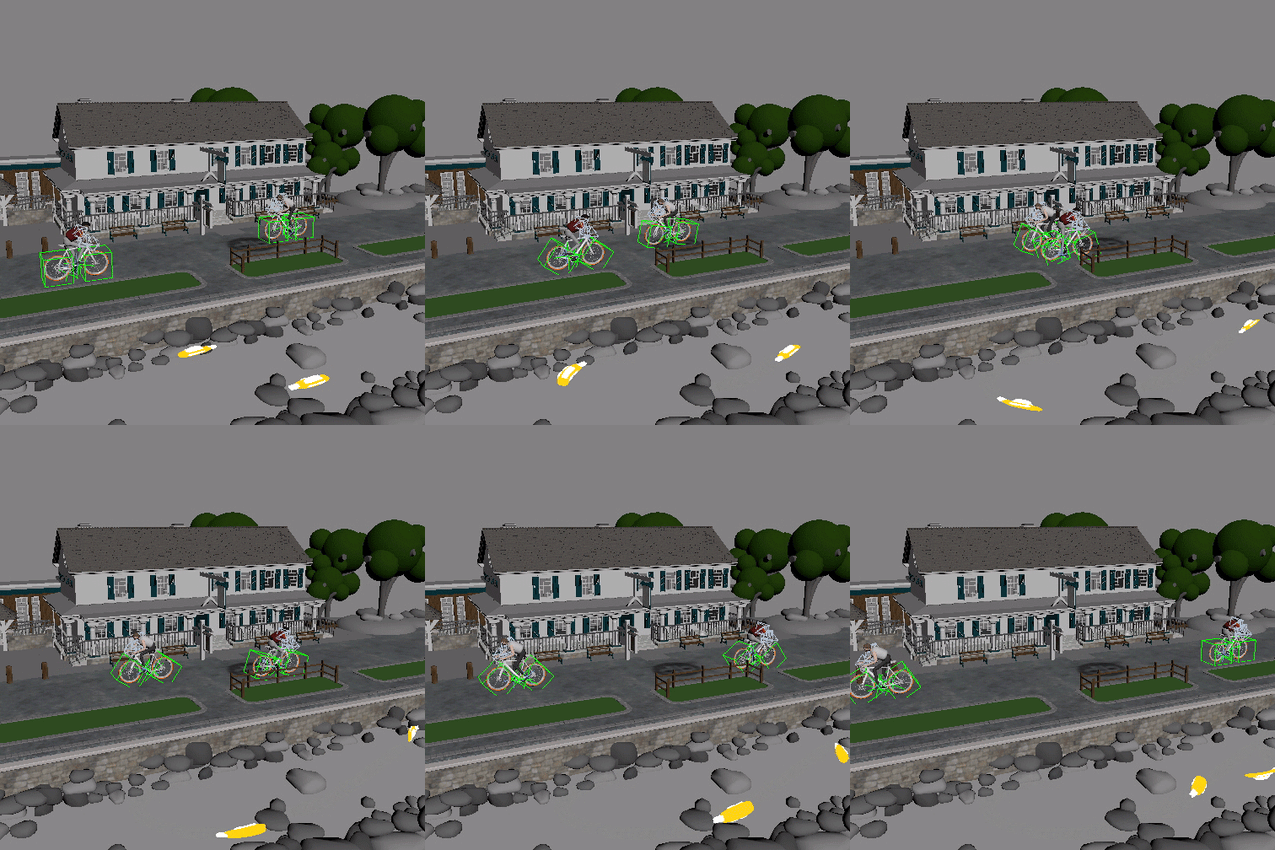
The final touch to these scenes is the movement to bring these scenes to life.
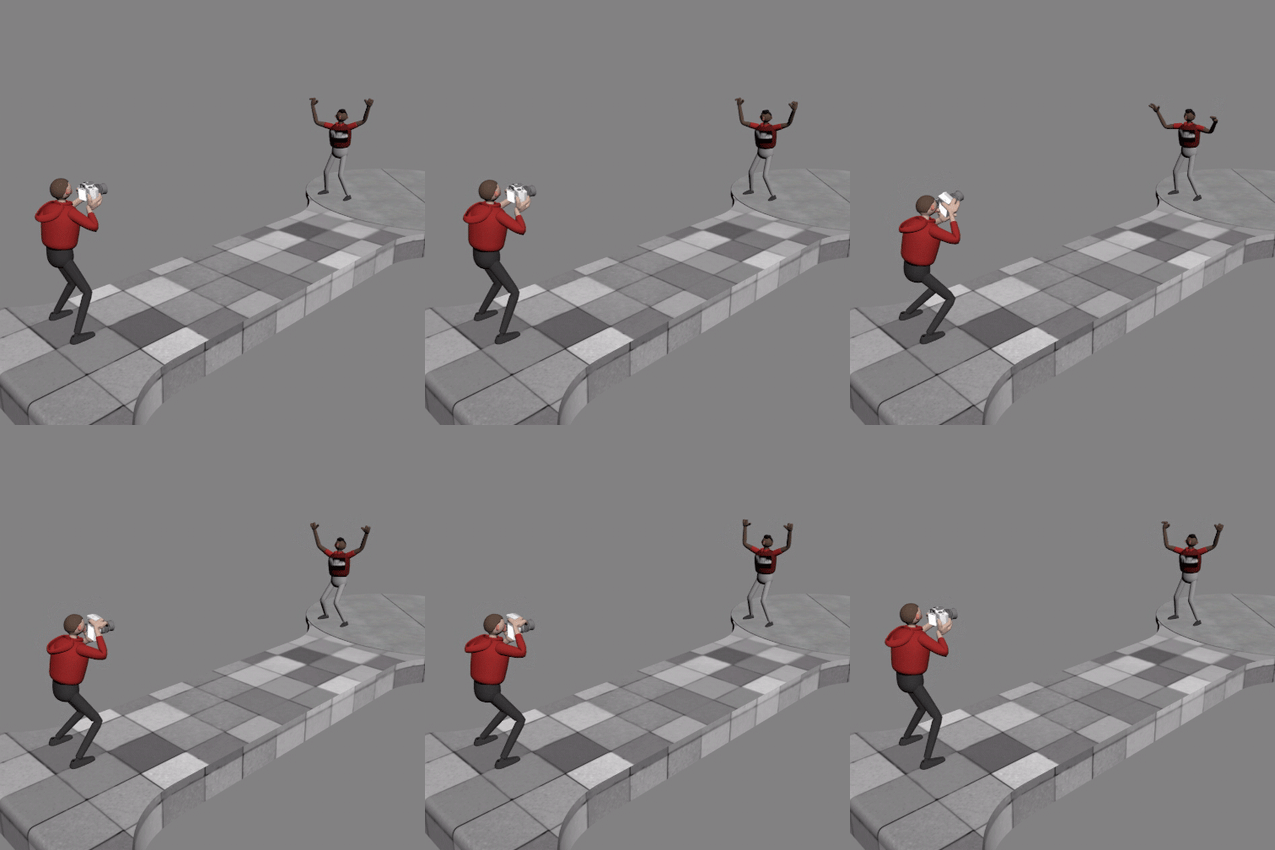
Just like the rest of the scene, it's been fun to stylize these animated elements as well. Everything from the water to the people is made to blend with the creative style.
5. Final product: The animation
At last, it's time to sit back and enjoy a little slice of Philly. Another interesting note: When we started this series, the branding came on after as a logo bump in the bottom of the composition. That eventually evolved into hiding the logo within the 3D scene, after the success of the underwater logo underneath the Ben Franklin Bridge.
You can view all the final animations in our Philly series here. And follow our social media channels to check out more!

